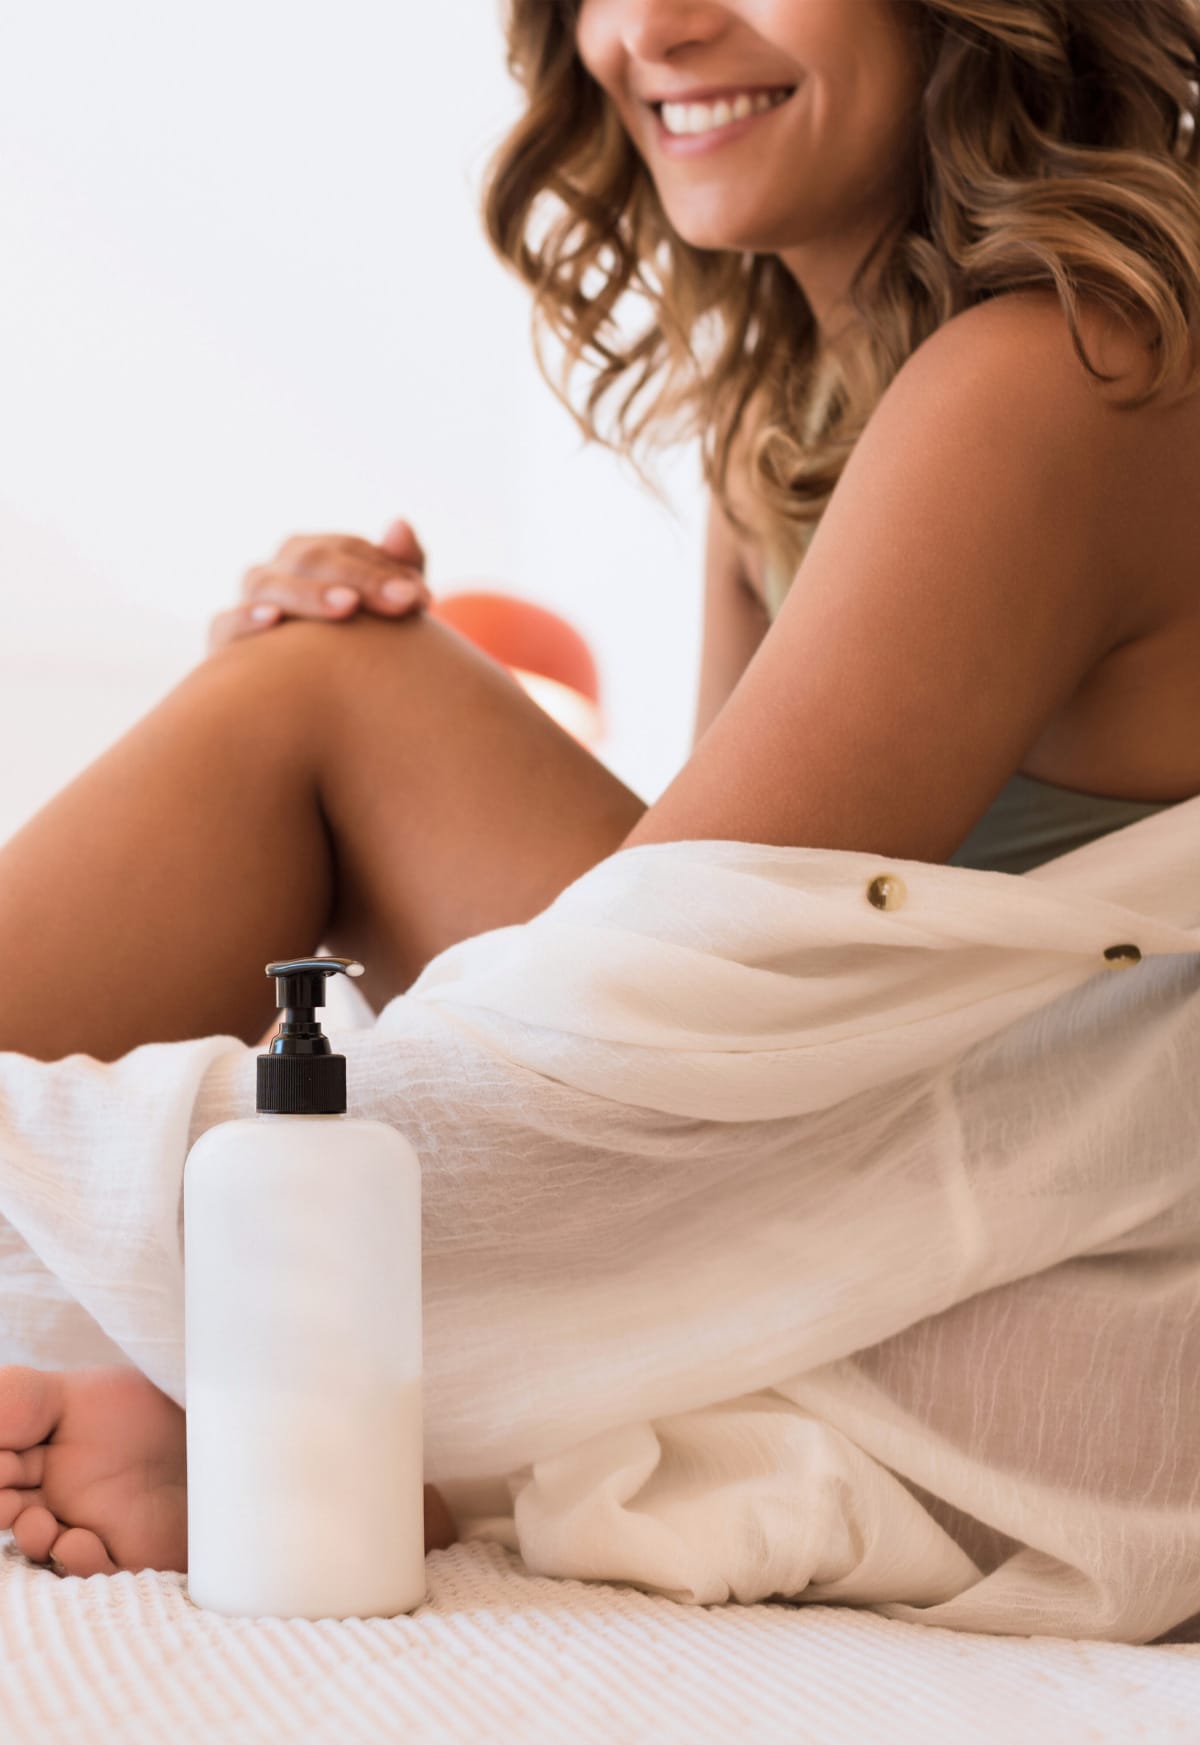
A couple of years ago, I discovered self-tanning products. I started with bronzing lotions for a subtle tan because I was pretty scared to actually self-tan. It can be pretty intimidating if you want to self tan for the first time. You might be scared that you mess it up and walk around as an orange with streaks or both… No more worries!
In this blog post, I will share in detail how to self tan, all the important steps, things you need to know before, during, and after you’re self tanning, and even more. If you’re interested, then please keep on reading!
How Does Self Tanner Work?
So, how does self tanner work? There’s a simple yet intriguing scientific process behind self-tanners. Let’s break it down. First and foremost, let’s get familiar with the amino acid tyrosine found within your skin cells. Tyrosine plays a crucial part in producing melanin pigment, which gives color to skin, hair, and eyes.
Dihydroxyacetone (DHA)[1], the active ingredient found in most self-tanners, isn’t just some magic bronzer. It’s actually a colorless sugar produced from sugar cane or by fermenting glycerin fermentation processes.
When applied topically on your skin’s surface, DHA reacts with dead cells and tyrosine molecules to temporarily darken skin tone — better known as the Maillard reaction.
| Component | Role |
| Tyrosine | Amino acid aiding melanin production |
| DHA | Active ingredient causing temporary darkening |
This reaction typically begins two to four hours post-application and usually peaks 24 to 48 hours later, lasting seven days as darker dead skin cells naturally flake off and are replaced by new cells.
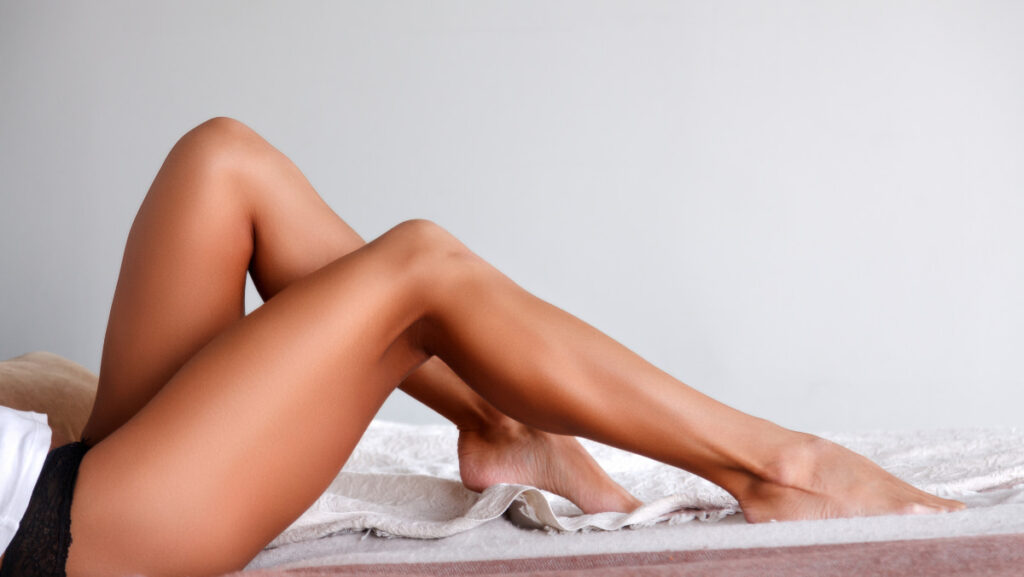
Self-Tanner Formulas: What’s The Difference, And Which Formula Is The Best?
When you’re looking for that perfect self-tan, you might find yourself overwhelmed by the many options available. Mousse, towelette, spray, lotion—each promises a flawless self-tan, but choosing the right one for your fake tan routine can feel like navigating a maze. Don’t worry—I’ve tried all types of self-tanners, and I’ll help you find the best match for your sunless tan goals.
Types of Self Tanners
Self-tanners come in several different forms, so there’s an option for everyone. Here are the most common you’ll come across:
- Lotion: Perhaps the most traditional form of sunless tanner, lotions are known for their moisturizing properties. They’re a fantastic option if you’re new to self-tanning or if your skin leans on the drier side. Lotions give you ample time to blend, reducing the chance of streaks.
- Mousse: If you prefer a lightweight formula, a mousse might be your go-to. It’s often touted as the best way to apply self-tanner, thanks to its easy blending and quick-drying characteristics. Ideal for those with some experience, the mousse offers a control that’s hard to beat, making it simpler to avoid self-tanning mistakes.
- Spray: Spray tans offer a touch of professional “airbrushed” finish and are superb for getting to those hard-to-reach areas like your back. Even though you can do spray tans at home, I recommend going to a professional for this. Sprays can be trickier to master, so to be sure you get flawless results, let a professional help you and get an even, no-rinse self-tanner experience.
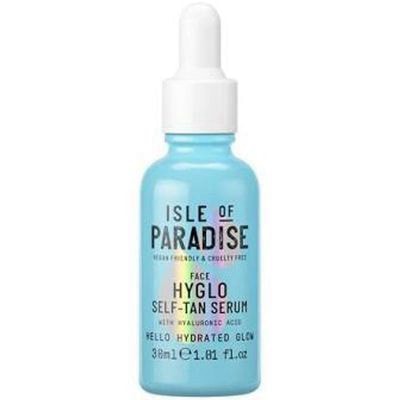
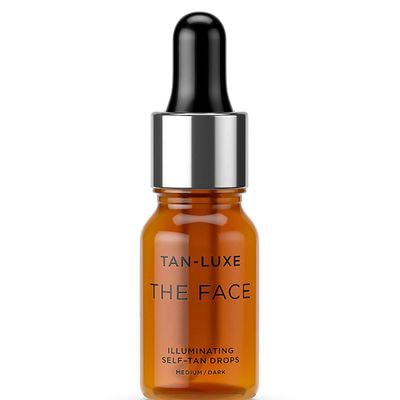
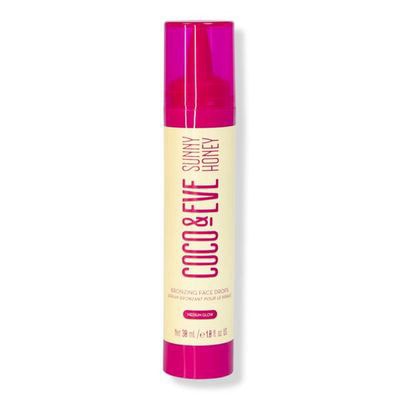
- Oils & Serums: Unlike traditional tanning lotions or mousses, oils and serums are infused with nourishing ingredients that hydrate and condition the skin, ensuring an even application and a more natural-looking tan. They’re typically lightweight, making them a breeze to apply, and they absorb quickly without leaving any greasy residue behind.
- Mists: Among the various products available on the market, self-tanning mists have become increasingly popular due to their ease of application and ability to provide an even tan. Mists are lightweight and designed to cover your skin with a fine mist of tanning solution, ensuring an even distribution without the hassle of manual spreading, which often leads to unevenness or streaks.
- Towelettes: These pre-soaked wipes are infused with a precise amount of tanning solution, making them perfect for on-the-go applications or for those new to self-tanning. One key advantage is the control they offer; you can easily go over lighter areas again for a more uniform color or tackle tricky spots like elbows and knees by folding the wipe for precision application.
My Favorite Self Tanners
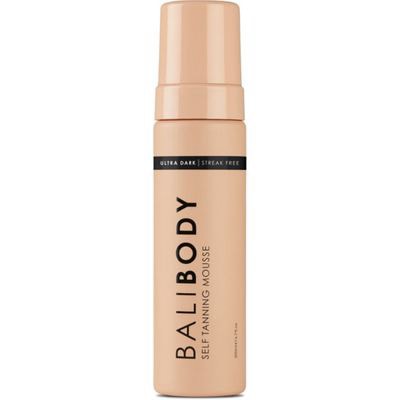
Over the last few years, I’ve tried quite a few different self-tanners, and I have to admit that the Bali Body Self Tanners truly are one of my favorite self tanning products! I absolutely love the Bali Body Self Tanning Mousse in Dark and the Bali Body Self Tan Body Serum.
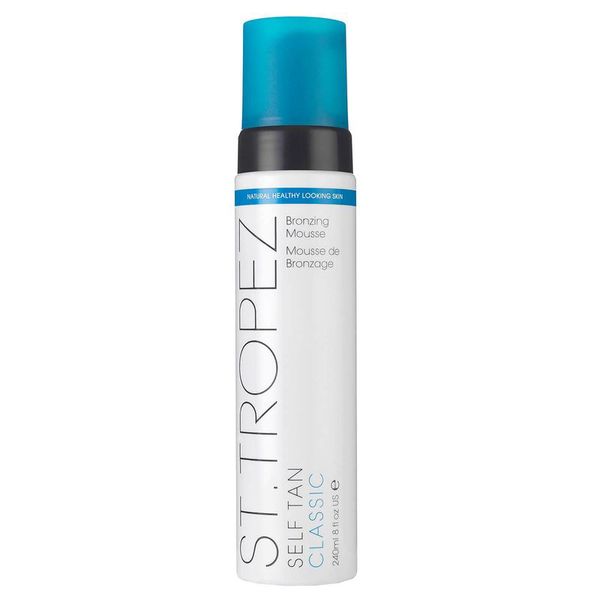
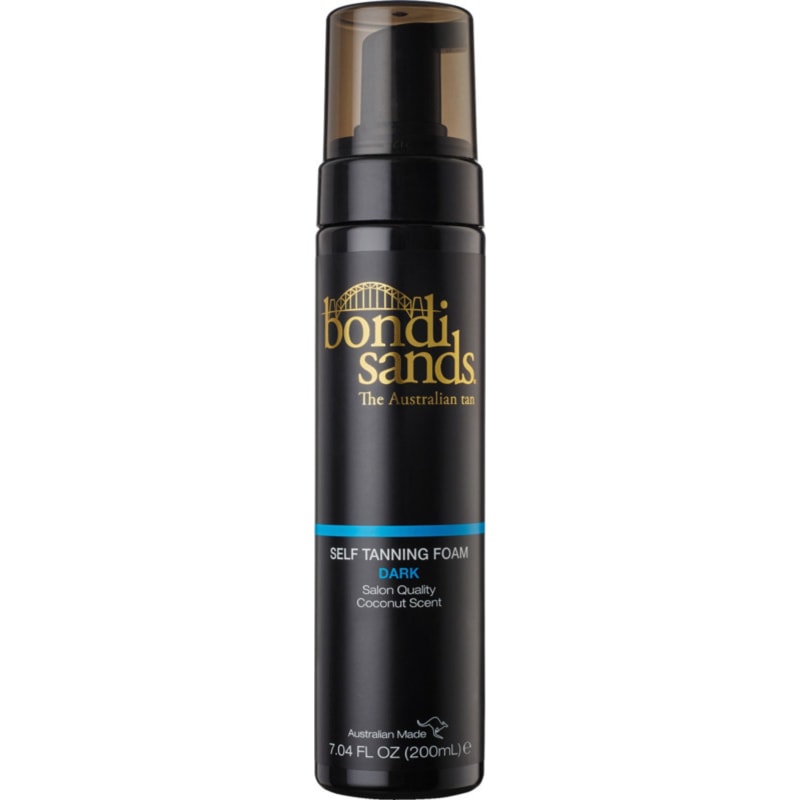
Two brand’s products that I also really love is St. Tropez Self Tan Classic Bronzing Mousse and Bondi Sands Self Tanning Foam. For more of my favorite self tanners, check out this best self tanners review.
Self Tanning Prep: How To Properly Prepare Your Skin
Before you dive into the world of sunless tan, prepping your skin is crucial. It’s the key to achieving that bronzed, flawless self you’re after. Whether you’re a first time self tanning enthusiast or seasoned in the ways of fake tanning, these steps for self tanning prep will ensure you’re on the right track.
Exfoliating and Moisturizing
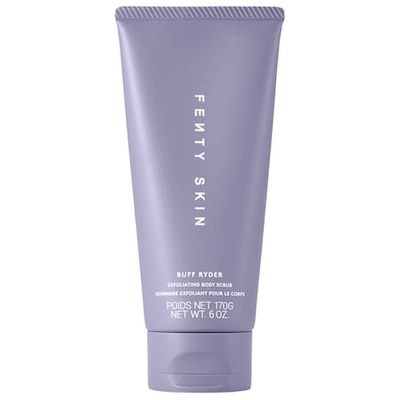
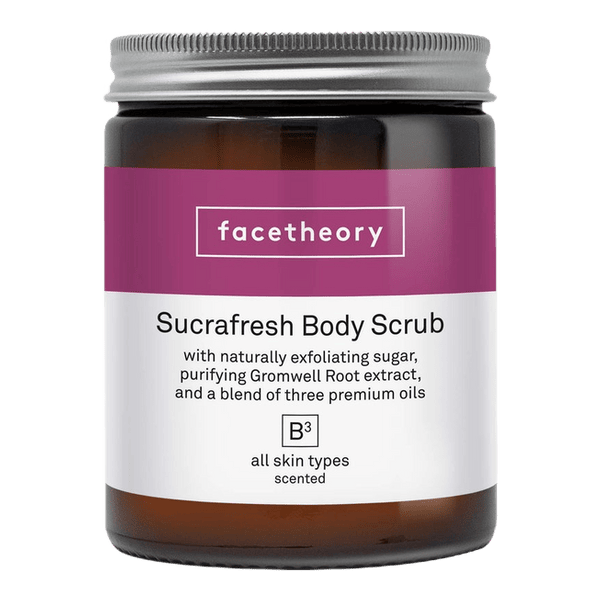
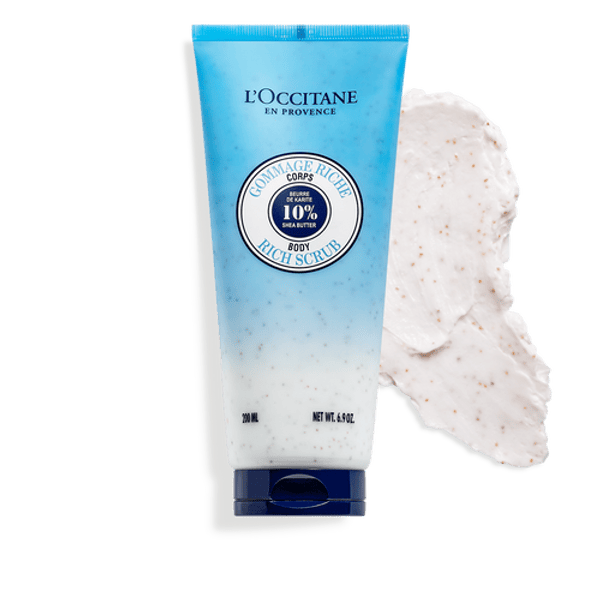
One of the most essential self tanning tips to nail down is the exfoliating and moisturizing routine. A body scrub is your best friend here, helping to remove dead skin cells and reveal the fresh, smooth skin underneath. Pay extra attention to dry areas and knees because sunless tanner tends to cling to dry patches, leading to a patchy tan.
But here’s the trick: you’ve got to balance your exfoliation with hydration. Moisturizing is just as vital, but there’s a catch – should you moisturize before self tanning? The answer is yes, but timing is everything. Moisturize thoroughly the day before applying your sunless tanner; this way, your skin drinks up the hydration without interfering with the tanning process.
On the day of tanning, avoid lotions or creams that are too thick or oily, as they can create a barrier on your skin. However, right before you apply your tanner, a little hack is to dab a tiny amount of moisturizer on those notoriously dry spots – elbows, knees, ankles, and wrists. This prevents the dreaded dark patches and ensures your canvas is perfectly primed for a flawless self tan.
Handling Areas like Hands, Feet, Knees, and Elbows
Let’s talk about those tricky spots: hands, feet, knees, and elbows. These areas can make or break your perfect tan, betraying your sunless tanner secrets if not handled correctly. Each of these spots requires a slightly different approach for that perfect self-tan:
- Hands and Feet: Apply a layer of lotion to your hands and feet, focusing on the nails and cuticles and between the fingers and toes. This prevents the tanner from settling too heavily in these areas. When you apply the tanner, use a tanning mitt and work with less product than you’d use on larger body areas. Blend well.
- Knees and Elbows: These areas tend to absorb more product because of the dry, thicker skin. The moisturizer trick you used during your prep comes into play here. Right before tanning, lightly moisturize these areas again. When applying the tanner, use any excess self-tanner from that initial application instead of adding more product. This ensures a lighter application that blends seamlessly into the rest of your tan.
Applying Self-Tanner Like a Pro: Self Tanning Steps
From choosing your ideal sunless tanner to mastering the application process, there are a few tricks and hacks that can make all the difference. Let’s dive into how you can apply self-tanner like a pro.
Start With Your Face First
I recommend tanning the face before the body because it’s simpler to apply self-tanner to this area using your bare hands. Make sure to wash your hands immediately afterward to avoid any staining. Unlike bronzer, it’s essential to apply self-tanner evenly across the entire face.
This includes under the eyes, over the eyelids, on the tips of the ears, on the neck, and even around the back of the ears, which may be visible when hair is tied back.
If you’re feeling hesitant about using a self-tanner, you might want to try a formula designed to be mixed with moisturizer or a face serum for a more gradual effect.
Continue With Your Feet And Work Your Way Up
I recommend starting with the legs and working your way up. Begin by tanning the lower leg first, from the ankle up, ensuring to skim over the knee. Then, tan the feet using any excess self-tanner from the initial application.
The best way to apply self-tanning mousse, or any sunless tanner for that matter, is with quick, circular motions. This method helps to blend the product seamlessly into your skin, preventing any streaks or patches.
Remember, the quicker you work, the less likely the tanner will dry and set in uneven patches. However, avoid rushing to the point of carelessness – the goal is a medium pace with methodical movements.
Self-Tanning Your Body
Generously apply the product onto the thighs, bottom, lower back, stomach, breast area, and décolletage. Ensure that you seamlessly blend it onto the neck, extending from where you’ve finished tanning your face. Moving on to your back, flip the mitt over and stretch it over each shoulder, evenly distributing the product.
Don’t forget to tan the back of your neck and down the sides of your torso, extending into the underarms. Proceed to tan each arm, halting at the wrists. Utilize any leftover product on the mitt to blend from the wrists down to the hands, ensuring thorough blending between the fingers and down each side of the hands.
Usually, depending on the product I use, I apply 2-3 pumps per bottom leg, 3-4 pumps per thigh, and 2-3 pumps per arm.
Let It Develop
Once you’ve applied your self-tanner, giving it ample time to develop is crucial for achieving that deep, natural-looking tan. Most products specify the recommended developing time, typically ranging from 4 to 8 hours, but sometimes it’s best to let it develop overnight.
For the best results, avoid showering, swimming, or exercising for at least 8 hours after application. Your perfect tan is developing during this wait, so give it the time it needs to reach its full potential.
After your shower, make sure to pat yourself dry! Don’t scrub, or you can start your tanning process all over again.
Maintaining And Extending Your Sunless Tan
Achieving that perfect, sun-kissed glow is just the first step. Keeping it looking fresh and long-lasting requires some care and attention. Don’t worry, though; with a few simple tricks up your sleeve, you’ll keep that glow going strong.
Moisturizing Daily
One key element in extending the life of your sunless tan is to moisturize, moisturize, moisturize! But not just any moisturizer will do. The secret to a long-lasting tan lies in keeping your skin hydrated without fading your beautiful bronze.
- Why it Matters: Moisturizing daily helps to lock in color and prevents the flaky, peeling skin that can cause your tan to fade unevenly.
- The Best Picks: Opt for lotions that are water-based rather than oil-based. Oily formulas can strip away your tan, leaving you longing for that glow again.
- For Your Face: Use a product like the Drunk Elephant D-Bronzi Anti-Pollution Sunshine Drops to maintain the tan on your face and add a gorgeous glow.
Pro Tip: A tinted moisturizer can do double duty, keeping your skin hydrated while also evening out your tan if it starts to fade.
Avoiding Activities That Fade Your Tan
Believe it or not, certain activities and habits can cause your beautiful sunless tan to fade faster than you’d like. Here’s what you might want to avoid or approach differently:
- Hot Baths and Pools: Long, hot showers or dips in the pool can speed up the skin exfoliation process, leading to a quicker fade. Stick to cooler, shorter showers, and try to limit your chlorinated pool time.
- Exfoliating and Shaving: Avoid exfoliating after you’ve achieved your desired tan. Also, shaving can act like a mild exfoliator, so try to do it less frequently. When you do shave, use a sharp razor and a gentle touch.
- Rough Towels and Scrubbing: Pat yourself dry with a soft towel rather than rubbing. This gentle approach helps maintain your tan’s integrity.
Self Tanning Tips: 5 Tips For Beginners
Stepping into the world of self tanning can feel like navigating a minefield of do’s and don’ts. Whether you’re aiming for a subtle glow or a deep bronze, getting it right from the get-go makes all the difference. Here’s your beginner’s guide packed with essential tips to avoid those tell-tale signs of a fake tan and achieve that perfect sunless tan.

Exfoliate & Remove Hair 12-24 Hours Before
We’ve talked about this before, but I just want to emphasize the importance of this step for beginners. Exfoliation and hair removal play pivotal roles. Using a body scrub, gently exfoliate your skin to remove dead skin cells, focusing on dry areas such as elbows, knees, and ankles.
This step ensures an even application and prevents patchiness. When it comes to hair removal, shaving or waxing should be done 12-24 hours before tanning. This timeline allows your pores to close, preventing the tan from settling in and creating those dreaded dark dots.
Avoid Deodorants and Perfume
Before you reach for your sunless tanner, make sure your skin is free from perfumes, deodorants, or any products that might create a barrier between your skin and the tanner. These products can cause the tan to develop unevenly, leading to streaks and patches.
After your tan, make sure to let it develop for at least 6-8 hours before adding deodorants and perfume.
Always Use A Tanning Mitt
First and foremost, using an applicator mitt is non-negotiable when it comes to a streak-free, flawless self-tan. The reason? It not only protects your palms from turning a peculiar shade of orange but also ensures an even distribution of the product across your skin. Applicator mitts are designed to work with all types of self-tanners, whether you’re a fan of mousse, lotion, or spray tan.
Here are some tips for using an applicator mitt effectively:
- Always ensure your mitt is slightly damp before applying the self-tanner. This hack prevents the tanner from absorbing too much into the mitt, allowing for a smoother glide across your skin.
- When applying tanner to dry areas such as elbows and knees, use what’s left on the mitt after covering larger areas. This approach ensures these spots aren’t darker than the rest of your body.
Latex gloves under your mitt can add an extra layer of protection to keep your hands color-free. Just make sure to replace the gloves if they start to seep through.
Allow Your Tan To Dry Before Dressing
Patience is a virtue, especially when it comes to self tanning. After application, wait at least 10 minutes before putting on clothes to allow the tan to dry properly. Wearing loose, dark clothing helps avoid smudging and transferring the product onto your fabrics. Allowing sufficient dry time ensures your tan develops evenly and lasts longer.
Wash Off Your Tan In Cool Water
When it’s time to rinse off your tan, opt for cool water and avoid using soap or exfoliants for the first shower, hot water can disrupt the development process and lead to fading. Gently pat your skin dry with a towel instead of rubbing, which can cause unevenness.
Troubleshooting Common Self-Tanning Mistakes
Navigating the world of self-tanning can feel like walking through a minefield. One wrong step and boom, you’re left with streaks, uneven patches, or an overly dark tan that screams “fake tan” louder than a fluorescent orange.
But fear not! With a few tricks up your sleeve, you’ll be able to fix these mishaps in no time. Let’s dive into some common self-tanning mistakes and how to remedy them.
Fixing Streaks and Uneven Patches
We’ve all been there. You’ve followed all the steps for self-tanning, only to wake up with streaks or uneven patches. Before you panic and swear off sunless tanners forever, let’s talk solutions:
- Dilution Technique: If the problem area is too dark, diluting your remaining tan can help. Mix a bit of body lotion with your sunless tanner and gently apply it over the streaks. This can help blend the color more evenly.
- Lemon Juice and Baking Soda: These household items can be your best friends in fading streaky or patchy tans. Apply a mixture of lemon juice and baking soda to the streaky area for a couple of minutes before gently wiping it away with a damp cloth.
Dealing with Overly Dark Results
So, your quest for the perfect tan left you looking more like a bronze statue than the sun-kissed deity you envisioned. It happens to the best of us. Here’s how to lighten the load:
- Coconut Oil Bath: Believe it or not, taking a warm bath with coconut oil can help lighten an overly dark tan. Coconut oil helps to loosen the top layers of your dead skin cells, making it easier to shed the excess color.
- Baby Oil Application: Apply baby oil to your overly tanned skin and let it sit for about 10 minutes before taking a bath/shower. This method can help in fading the color gently and naturally.
How To Remove Self Tan
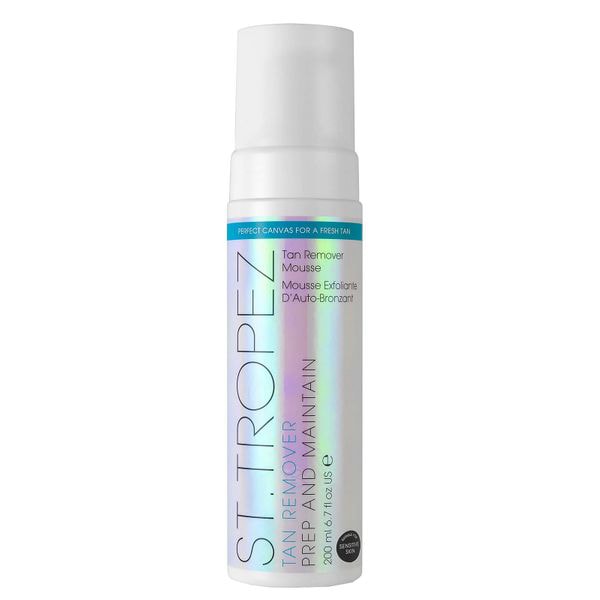
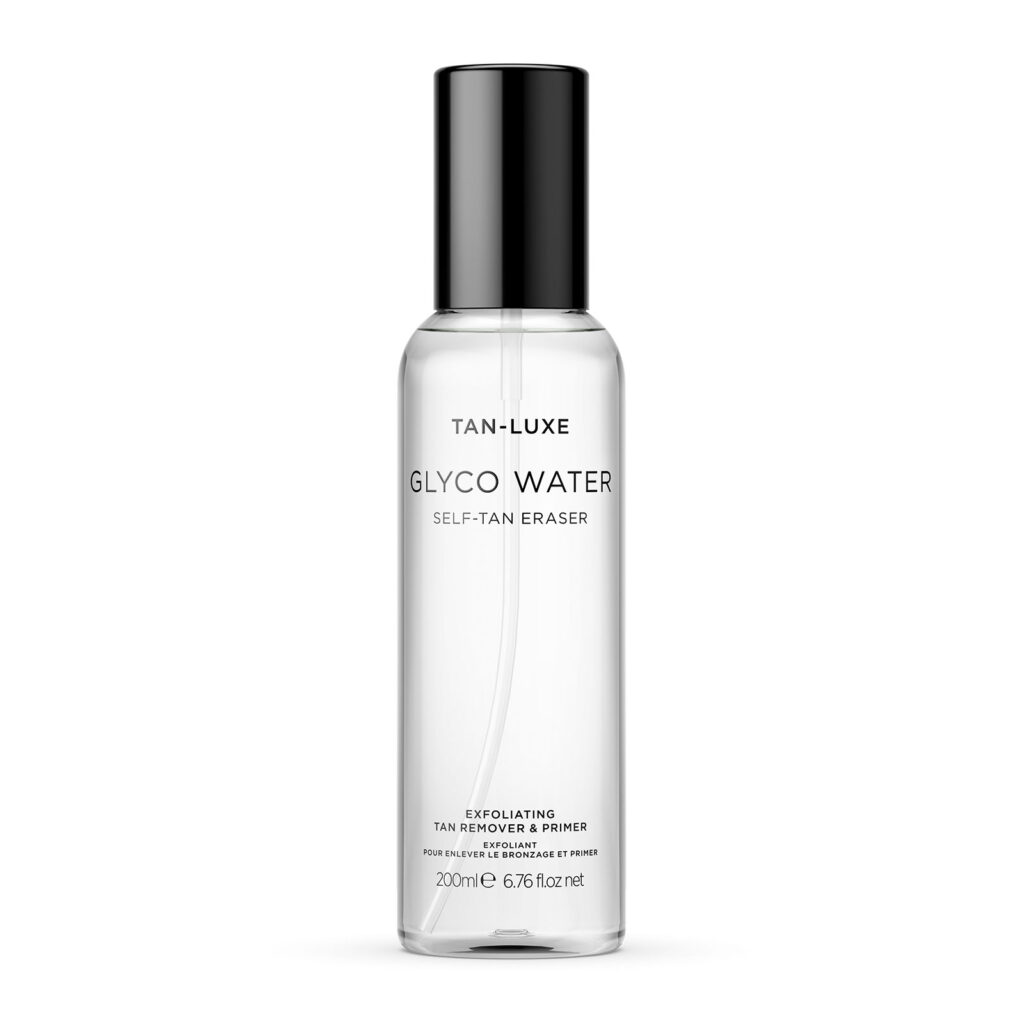
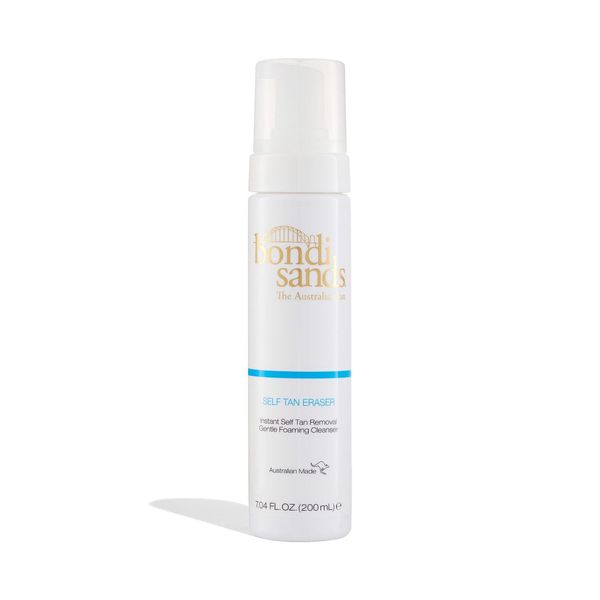
If you want to apply a new, fresh tan after a couple of days it’s best to completely remove the old tan first. The easiest way to do this is to opt for a self-tan remover, for example, the Bali Body Self Tan Remover, to remove the old unwanted self tan within minutes.
Apply the self-tan remover to dry skin using your hands. Leave the product on the skin for at least 5 minutes. Shower with warm water and use an Exfoliating Mitt to completely remove the old tan.
Tip: if you see some little mishaps you’ve made during self tanning and don’t want to remove your complete tan, grab a cotton pad (or a bamboo pad) and put a little bit of self-tan remover on it. Now, softly rub on the area where you made the mistake.
Conclusion On How To Self Tan Properly
Now that you’ve got all the tips and tricks up your sleeve for that perfect sun-kissed glow without the sun, you’re ready to dive into the world of self-tanning with confidence. Remember, practice makes perfect, and it’s okay to have a few mishaps along the way. With each application, you’ll learn more about what works best for your skin.
So go ahead, moisturize daily, follow the pre- and post-tanning advice, and don’t be shy about troubleshooting any tan-tastrophes with the handy solutions provided. Here’s to achieving and maintaining your flawless tan all year round!
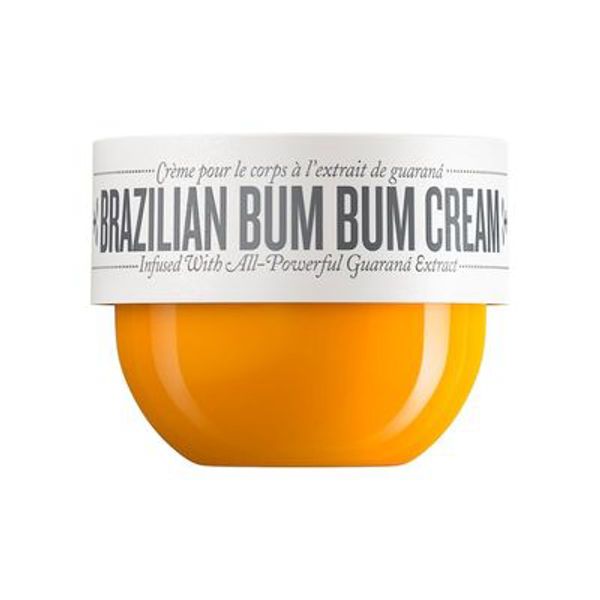
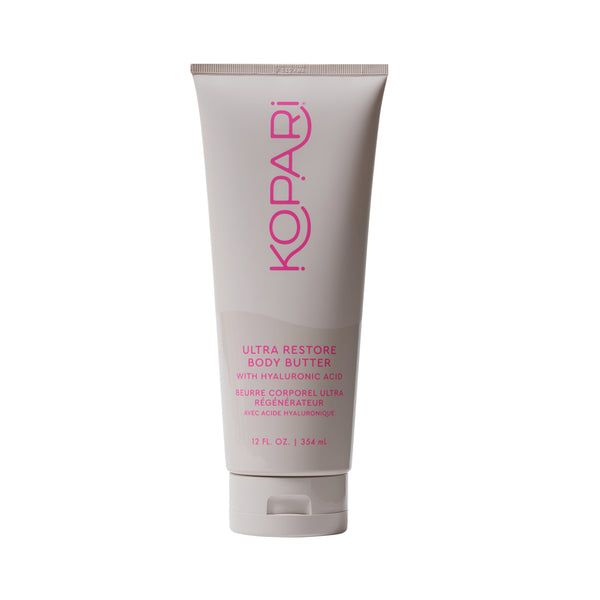
shop the post

OMG I really want to try the Face Tan Water!! I’ve ordered a few goodies from Bali with a coupon through Ulta and I am SO excited to try them!! 🙂
I’m soooo excited for you! Hope you’ll like their products as much as I like them! Let me know 🙂