Concealer is the center of every successful makeup routine. This incredible pigment can help you cover blemishes, hide dark circles, and highlight key facial areas.
Whether you’re a makeup newbie or simply looking to refine your concealer skills, you’ve come to the right place. By learning how to apply concealer for beginners, you will unlock the secret to flawless skin.
A good concealer that matches your skin’s needs and the right skill set to apply it can seriously up your makeup game. So, if you’d like to learn how to master this crucial step in your beauty routine, read on.
By the time you’ve finished reading this guide on how to apply concealer for beginners, you’ll have gained the knowledge and confidence to achieve an even skin tone, no matter what your skin type might be.
Understanding The Role Of Concealer
Before we start processing how to apply concealer for beginners, let’s explore the different uses of this makeup savior.
So, why use concealer? Here are some ways you can integrate it into your beauty routine:
- Concealer can correct the appearance of blemishes, dark circles, redness, or scars, leading to even skin tone.
- Concealer also plays a significant role in highlighting and contouring. For instance, using a slightly lighter shade than your foundation can emphasize the higher points of your face, such as your cheekbones or brow bones.

Choosing The Right Concealer
The first and most crucial step in applying concealer is choosing the right product for your skin and specific concerns. You could learn the entire guide on how to apply concealer for beginners by heart and still have an unsatisfying result with the wrong product.
Concealers come in different forms and formulas. As a beginner, you might wonder how to navigate the many available options. Don’t fret. We’re here to guide you through it.
Choosing Based On Your Skin Type
The first thing to consider before buying a concealer is your skin type. Some common skin types are normal, dry, oily, combination, and sensitive. Each type has unique characteristics and requires a particular type of concealer.
Here’s a simplified guide:
- Normal skin: You’re fortunate if you have this skin type, as most concealers will work for you. Opt for a liquid or cream-based concealer that matches your skin tone.
- Dry skin: Look for a liquid or stick concealer with a lighter consistency. Ensure it’s hydrating to avoid clinging to dry patches on your skin.
- Oily skin: Apply an oil-free, matte finish concealer to combat shine and provide long-lasting coverage. Liquid concealers that blend seamlessly and go matte are your best bet.
- Combination skin: Here, you may need to mix and match. Utilize a matte concealer for oily sections (usually the T-zone) and a hydrating one for dry areas.
- Sensitive skin: Opt for a hypoallergenic, fragrance-free concealer to prevent irritation.
Pro tip: Do not skip setting your concealer after application if you have oily skin. If your skin is dry, make sure to moisturize your skin well before doing your makeup.
The above tutorial serves as a starting point. However, remember that everyone’s skin is unique, and what works best for you might involve trial and error.
Choosing Based On Color
Now, let’s talk about color correction. This concept might seem advanced, but it’s not as complicated as it sounds. In truth, it’s a game-changer. Different colored concealers are used to neutralize certain pigmentation issues, such as redness, dark circles, or dullness. To simplify:
- Green neutralizes redness from pimples or skin concerns like rosacea.
- Yellow conceals blue or purple under-eye circles and works well for hyperpigmentation.
- Peach/ Orange also works well with blue and purple undertones.
- Lavender/Purple brightens sallow or yellowish skin tones.
And what about specific skin concerns? Here is what you should remember:
- For blemishes, use a concealer that is closer to your foundation or natural skin tone, or go over them with a green concealer first for color correction.
- For undereye circles, use a concealer that is one shade lighter than your skin tone because the aim is to brighten that area. Otherwise, use a peach or orange concealer to color correct and then a concealer that matches your skin tone.
Lastly, don’t forget to test before buying, especially if you’re new to concealer and don’t know your shade yet.
Pro tip: Always try the product on your skin (not your hands!) under natural light to ensure it’s the right shade.
Basic Tools Needed For Applying Concealer
Before starting the guide on how to apply concealer for beginners, let’s ensure that you are equipped with all the right tools and necessities. When starting your makeup journey, makeup tools may seem complicated, so let’s simplify that.
When applying concealer, there are a few must-have tools you’ll require. These include a good quality concealer, a concealer brush, a blending sponge, and a setting powder. Although, my personal favorite is my finger (washed, of course!).
First, let’s talk about concealer brushes. They come in several shapes and sizes that help you apply the product accurately. These brushes usually have a slight point or tapered, flat end that allows for precision. Here are the different sizes you might need:
- A small, tapered brush for concealing spots and blemishes
- A medium-sized brush or makeup sponge for your undereye area – you can also use it to highlight the brow bone, chin, forehead, or tip of your nose.
Continuing with a makeup sponge. If you are not a fan of brushes, you can opt for a sponge designed for concealer application.
They come with pointed tips perfect for those tricky under-eye areas and the sides of your nose. They are trusted tools for blending your concealer into your skin seamlessly.
Lastly, a setting powder is critical to ensure your concealer stays put. Beginners often overlook it, but it’s just as important. It helps to set the concealer, preventing it from creasing or transferring.
| Essential | Reason |
| Concealer brush | Precise application |
| Blending sponge | Seamless blending |
| Setting powder | Sets the concealer, prevents creasing |
| Makeup primer (Optional) | Prepares skin, ensures a smooth canvas |
With these tools in your arsenal, you’re ready to study how to apply concealer for beginners. Grab a notebook and follow along!

Step-By-Step Guide On How To Apply Concealer For Beginners
I wish I had read this guide on how to apply concealer for beginners when I first started experimenting with makeup. It is dedicated to all who find the art of applying concealer elusive.
Let’s break it down into simple, easy-to-follow steps designed perfectly for beginners.
The Basics Of Concealer Application
1. Identify Your Skin Type
Just like you read above, each skin type shows its potential with the right type of concealer.
2. Choose The Correct Shade
Follow the general guidelines above to pick a shade according to your skin color and concerns. If you are still confused by the many color-correcting options, just go for a concealer that matches your skin tone and another that is a shade lighter.
3. Start With A Clean Face
Skincare first, always! Ensure your skin is cleansed, toned, and moisturized before anything else. If you have an eye cream (which you really should invest in), don’t omit your under-eye area.
4. Prep Your Skin
This step is optional; you can skip it if you are a beginner. Prepping your skin and your under-eye area with an appropriate primer can create a smooth canvas for the concealer to glide on. It will also enhance its durability and prevent creasing.
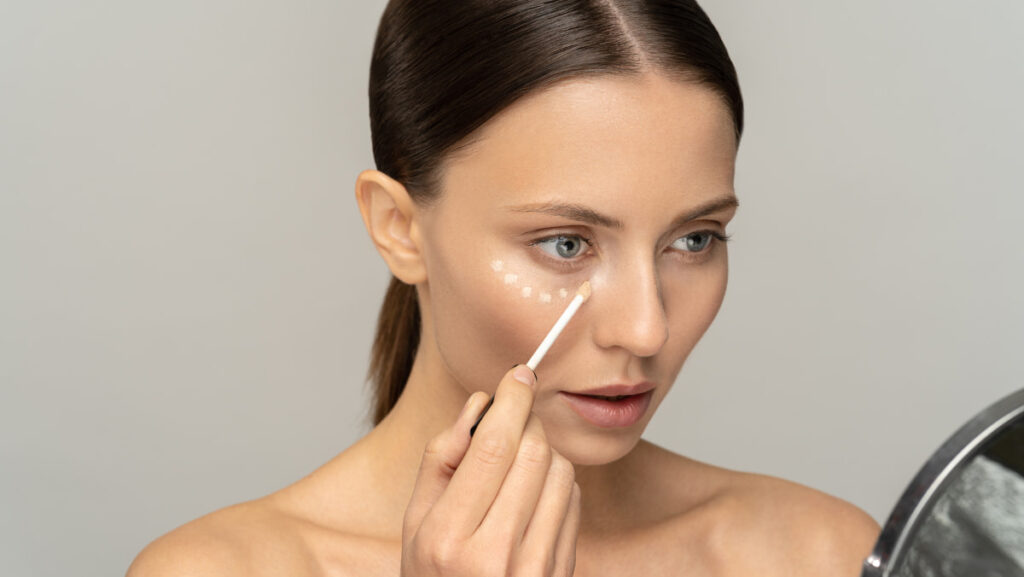
5. Apply In Small Dots Or Strokes
Less is more when it comes to concealer. You can always build up if needed. But too much concealer can result in a cakey look.
6. Blend Well
Use your finger, a sponge, or a brush to smoothly blend the concealer, paying attention to its edges to avoid harsh lines.
7. Set With Powder
Remember to set your concealer with powder to prevent it from sliding off or settling into fine lines. Prefer a translucent powder that will not intervene with your color correction.
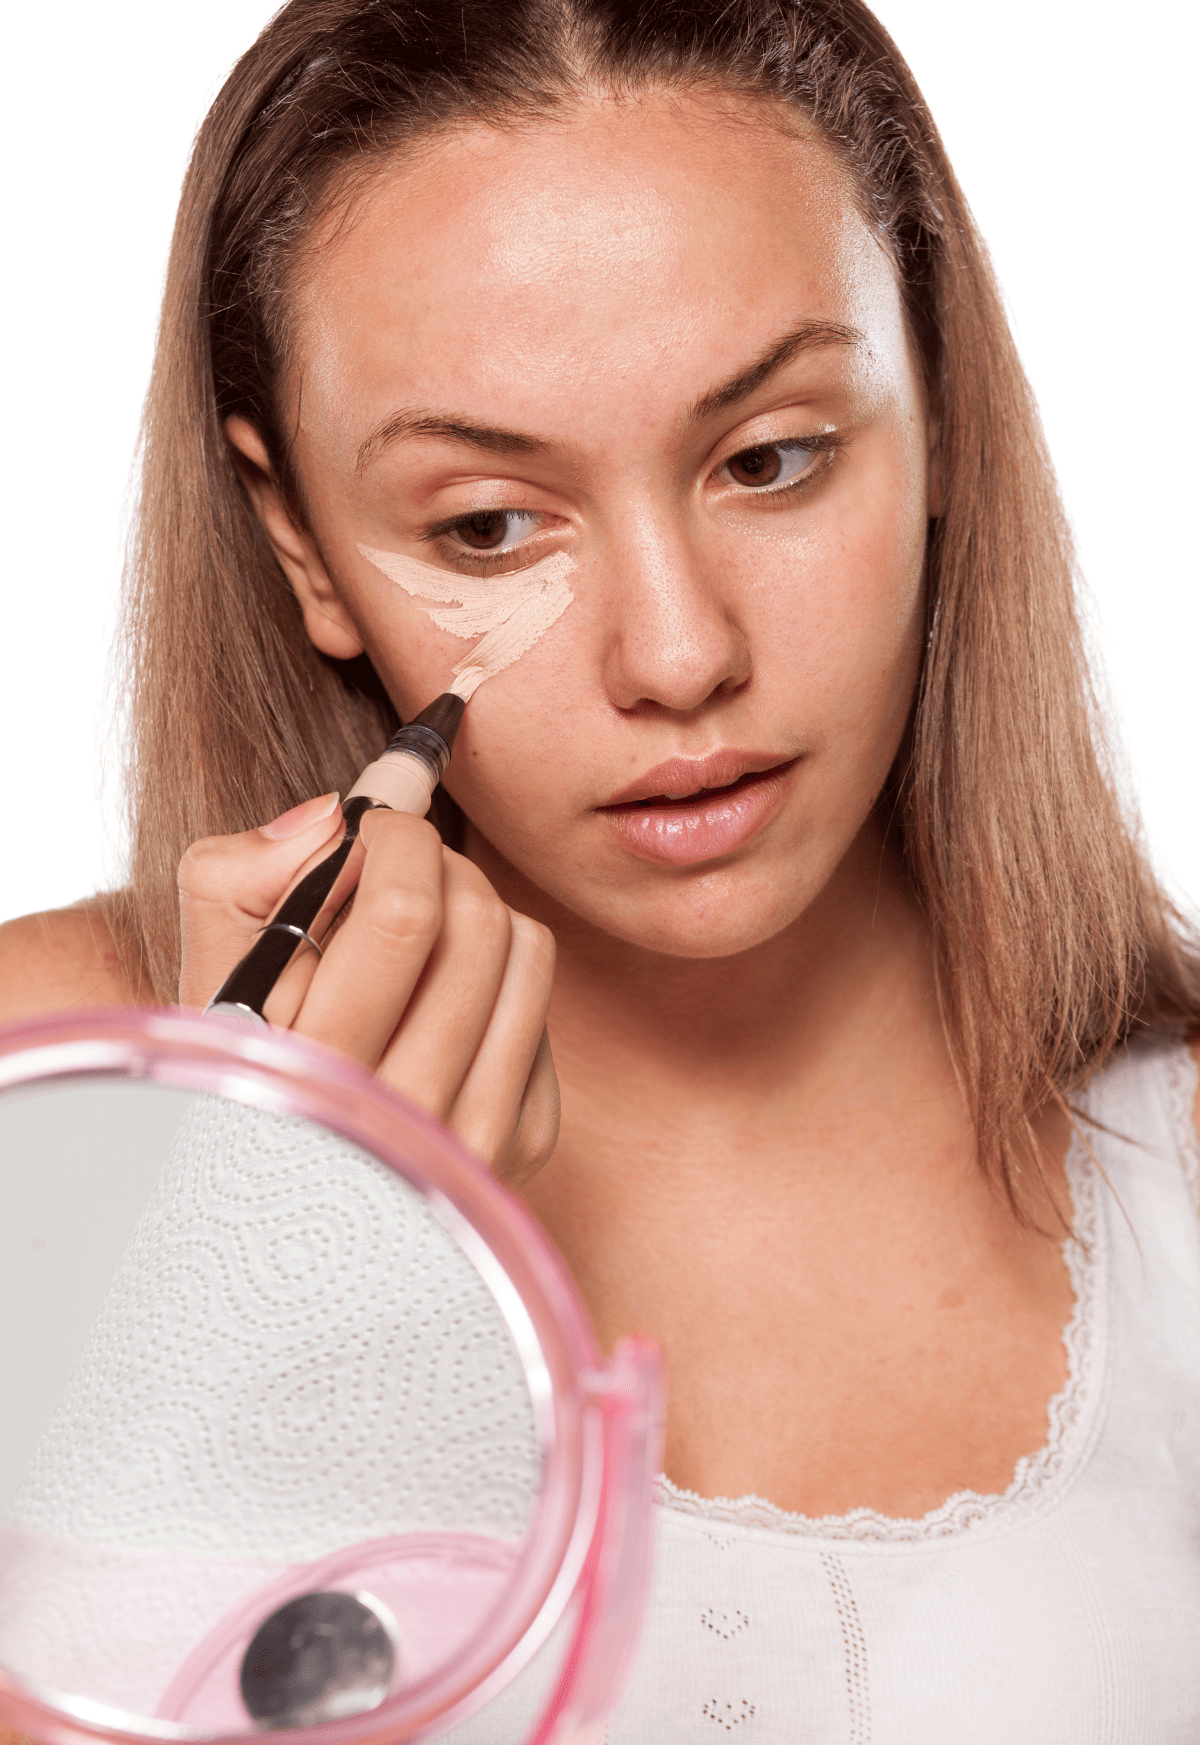
How To Apply Concealer For Beginners Under The Eye
1. Use The Right Shade
You would like to go for a peach-colored corrector for purple, blueish undereye circles. Apply a minimal amount directly under the eyes. Then, go over with a concealer the tone of your skin.
If you don’t want to bother with color correctors, just opt for a concealer that is one shade lighter than your skin.
2. Apply Concealer Before Foundation
Since the shade of concealer used for dark circles is lighter than your foundation, you don’t want to top it with it. That will make your complexion appear uneven and draw unnecessary attention to your under-eye. You want to apply concealer and follow with foundation.
3. Place The Concealer Correctly
There are many ways to place your concealer according to your desired result. If you want a slight coverage that mainly focuses on your under-eye circles, here is what you will do:
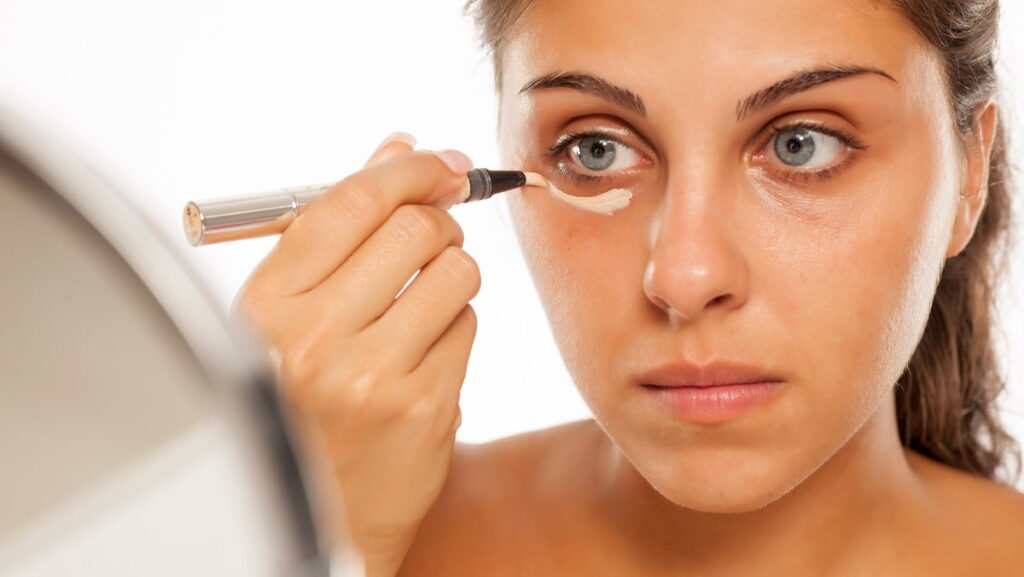
Add a bit of product onto a brush or your finger and apply it at your eye’s inner and outer corners. Then use circular and downward moves to cover the entire under-eye area, reaching up to your lower lash line.
If you want to cover a larger area that also potentially conceals the smile lines at the side of your nose and acts as a highlighter, you will do this:
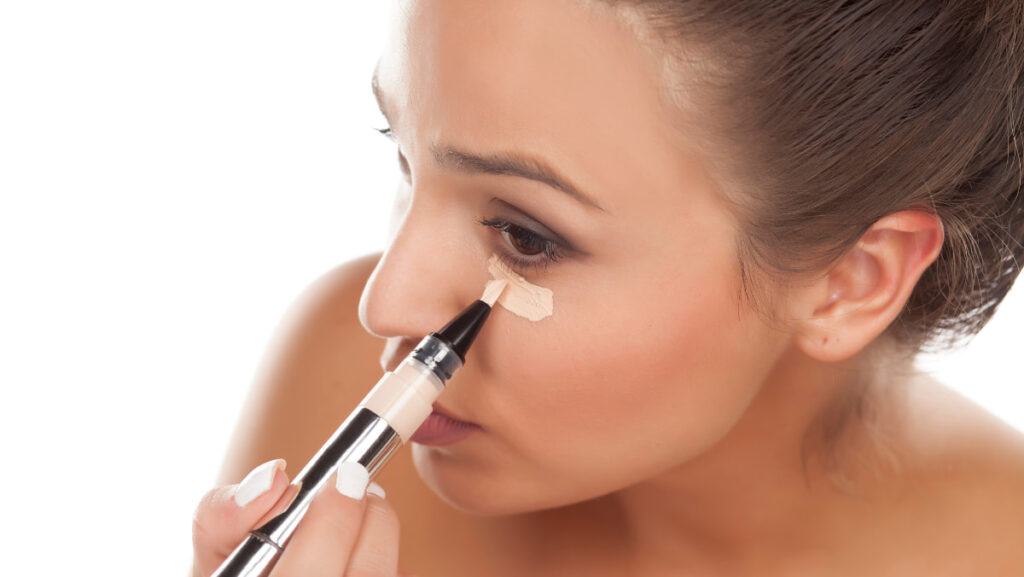
Pick up a bit of product and form an inversed triangle that has its base along the corners of your eyes. Its tip will not go straight down but rather slide down to your nose crease. As you blend the product, you can drag it along your cheekbone and your laugh lines to act as a highlighter.
Pro tip: Do not overdo it with this method. Otherwise, the center of your face will look strangely pronounced.
4. Set The Concealer
The under-eye is an area with a lot of movement. This can make concealer crease or transfer, especially if you have oily skin. To prevent that, set your concealer using a translucent powder, a medium fluffy brush, and gentle dabbing motions.
How To Apply Concealer For Beginners To Hide Blemishes
1. Choose The Right Shade
Either go for a green color corrector that you will go over with a concealer that matches your skin or skip the color corrector altogether.
2. Apply Foundation
Nowadays, there are actually several methods for using concealer and foundation. I’m still an OG foundation first, then concealer girl, but doing it the other way around isn’t necessarily wrong.
In case of a blemish, it could even be more helpful to apply concealer first before foundation. Make sure to only apply concealer on the blemishes or red spots you want to cover, then add foundation on top of it.
Avoid swiping the foundation with a brush or sponge; this will make the concealer move. Just dab it in, slowly on top of the concealer as well.
You can then go in and use a very small brush and tip the blemish with a tiny bit of concealer if you want complete coverage and if you think this is needed (this is probably unnecessary if you use a full coverage foundation).
Applying foundation first and then concealer on top of the blemish is absolutely fine as well.
3. Use A Small Brush
I would again recommend a small brush so you can really focus on that specific spot. This is also the best option to make sure the rest of your foundation isn’t going to look cakey due to too much product.
4. Gently Pat On The Blemish
Apply a small amount on the brush and gently pat over the blemish. Do not drag to avoid irritating the area or scraping the product off.
5. Warm The Color In With Your Finger
If you notice any harsh lines, gently tap over the area with your finger. Do not use dragging motions that will undo your work.
6. Set The Entire Face As Usual
You don’t need to set concealer separately from the foundation. Use your regular setting powder to go over the areas that require attention.

Common Mistakes To Avoid When Applying Concealer
As a beginner, you may stumble upon several mishaps when applying concealer. Avoiding these pitfalls can help your makeup look significantly better. Here is what you should keep in mind:
- Choose the concealer shade carefully. Avoid going too light or too dark. Always remember to adjust the shade when you tan during the summer months.
- Less is more, don’t over-apply. Excessive concealer can make your skin look cakey and unnatural.
- Remember the order of the products – concealer before foundation for under-eye circles and the other way round for blemishes and other imperfections.
- Be gentle with your concealer – especially when applying over foundation; avoid dragging motion that will scrape your products away.
- Always set your concealer with powder. Otherwise, it may crease or wear off, even after a few hours.
If you keep these things in mind while following the guide on how to apply concealer for beginners, nothing can go wrong. The only ingredient that misses is practice! Makeup is meant to be fun, so enjoy the process!
Wrapping Up The Beginner’s Guide On How To Apply Concealer
Now, you’ve made it to the end of my guide on how to apply concealer for beginners. You’re fully armed with knowledge, secrets, and the right tools. All you gotta do now is practice.
Remember, practicing is part of the game. Don’t be discouraged if your first few tries aren’t perfect. Time spent in front of the mirror experimenting with these steps will be your best teacher.
Your hands will start to sense how much product to apply, and you’ll eventually master that perfect, natural-looking coverage. Add the element of confidence, and you will shine as the flawless goddess you are!
shop concealers
If you’re in need of a good concealer recommendation after reading this post, don’t worry! I’ve gathered all my favorite concealers on my Shop My shelf. You can find way more of my favorite products there or browse the carousel below.
Frequently Asked Questions
